For every kayak enthusiast transporting a kayak on a car can be a difficult task, if they don’t have the proper knowledge and the right equipment.
Whether you’re planning for a kayaking or paddling trip on a nearby lake or river, It’s essential to know how to properly transport your kayak for a safe and hassle-free journey.
When it comes to transporting a kayak on a car safely and securely, it require knowledge and the right equipment.
In this article, we’ll share expert advice and different methods on how to transport a kayak on a car, to make your transporting process easy and hassle-free.
Different Methods for Transport a Kayak on a Car
Before transporting your kayak on car, understanding all the transporting methods can help you to choose the best methods according to your needs and ensure the safe, secure and hassle-free transportation of your kayak.
There are a few types of methods that professionals might use to transport kayak on a car and each type has it’s own advantages and considerations.
Here are some popular methods of transporting a kayak on a car, including best practices and the situations in which they’re most effective:
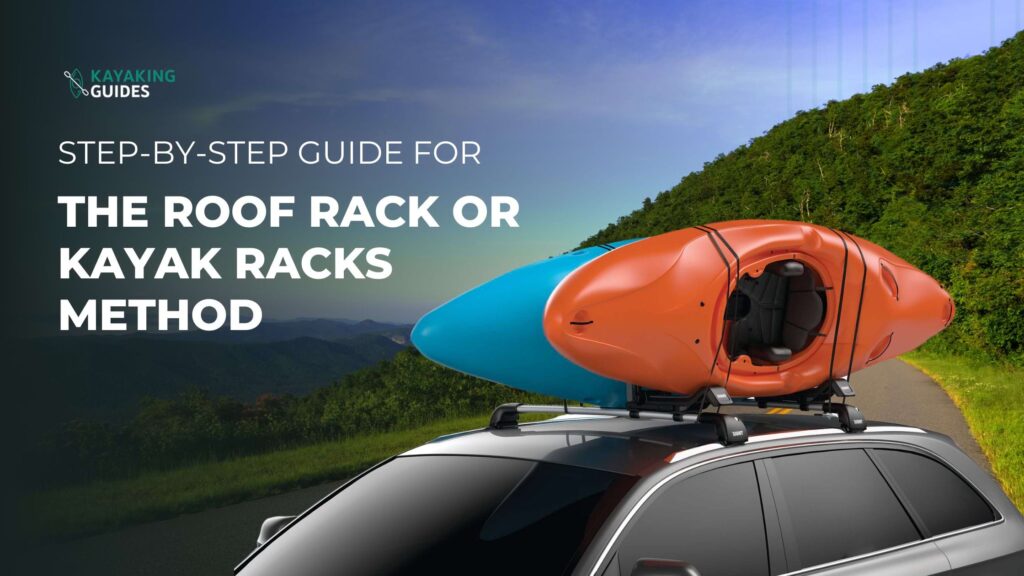
Using The Roof Racks Method to Transport a Kayak on a Car
This method is one of the most popular methods and many experts recommend this method for longer trips or when multiple kayaks need to be transported.
In this method, roof racks are installed on the roof of a car and then attached to kayak-specific roof rack accessories including kayak saddles, J-cradles, or stackers, which hold and secure the kayak in place.
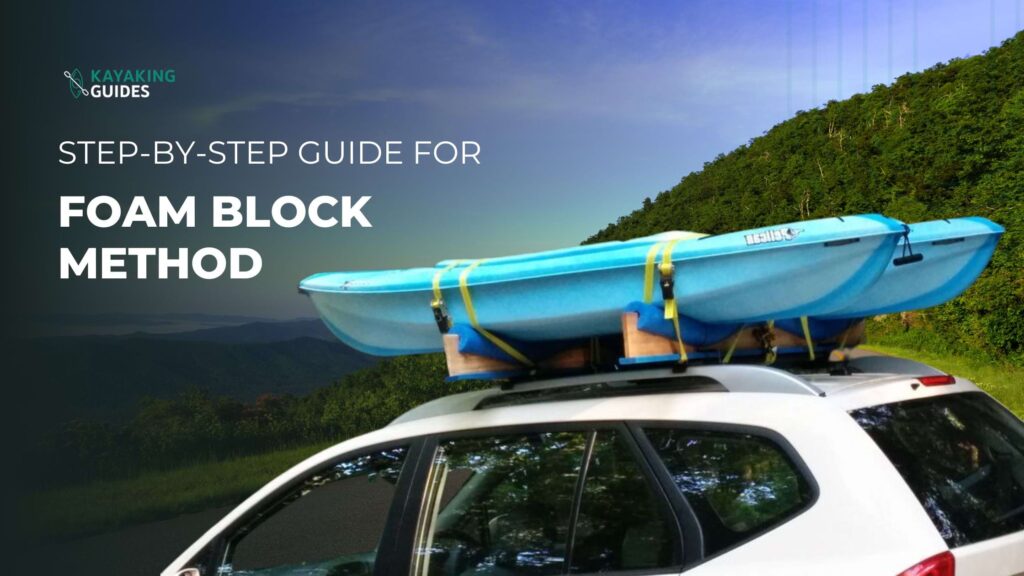
Using The Foam Blocks and Cam Strap Method to Transport a Kayak on a Car
This method is another popular method also it is cost-effective and it may not provide the same level of stability or security as a roof rack system.
In this method, foam blocks are placed on the car’s roof to create support for the kayak and secured the kayak using straps or ropes.
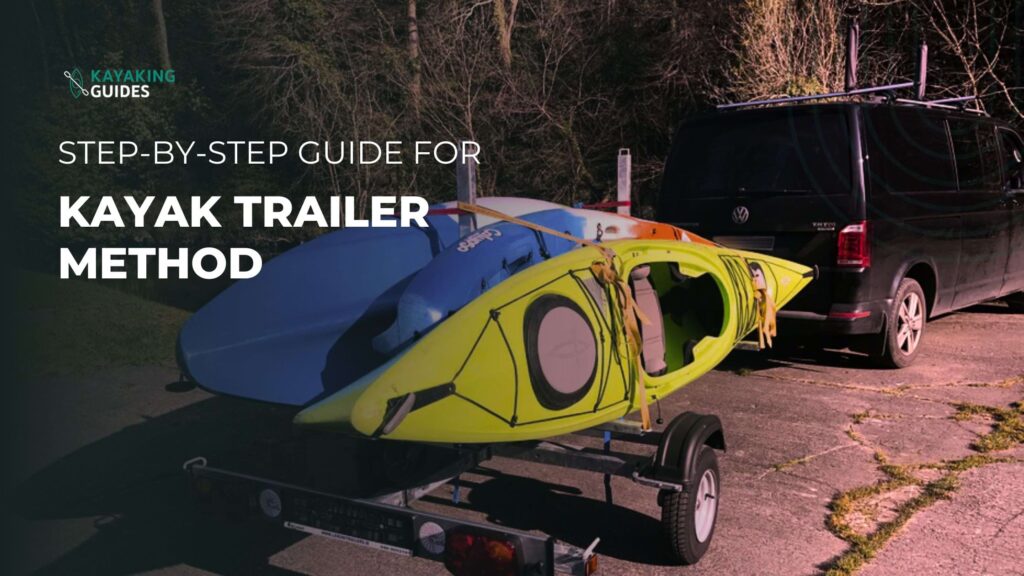
Using The Kayak Trailers Method to Transport a Kayak on a Car
This is a popular method to transport multiple kayaks at once and it is specifically designed for transport multiple kayaks.
In this method, a small trailer is attached to the hitch of a car and secured with straps or bungee cords on the trailer.
It is easier to load and unload than roof racks, as you can simply slide the kayak onto the trailer. However, keep in mind that you will need a vehicle with a hitch receiver to use a kayak trailer.
Step-by-Step Guide for The Roof Rack or Kayak Racks Method
By following these step-by-step instructions you can easily transport your kayak using the Roof Rack or Kayak Racks method:
Step 1: Installing Roof Racks on Your Car
Before beginning the process, It’s important to ensure that choose the roof racks that suit your car and kayak size and also the roof rack must be compatible with your car’s roof design.
Different cars have different roof designs, so make sure to check your car’s manual or with a professional consult to understand the compatibility requirements.
Then by following the manufacturer’s instructions carefully install the roof racks to properly secure and handle the weight of the kayak.
Step 2: Loading the kayak on Car Roof Racks
Before loading the kayak on the car roof rack, it’s important to prepare it for transportation. To prepare it, make sure it’s clean. This will help prevent any scratches or damage to both your kayak and car during transit.
Then lift the kayak onto car roof racks and center and align it with the rack. To make the process easier call a friend or family member to assist you.
After loading the kayak use additional padding between the roof rack and the kayak. You can use foam blocks, towels, or kayak-specific pads and covers for extra support.
Step 3: Securing the Kayak
Use cam straps or tie-downs of your kayak to secure it. Make sure the straps are tight enough to hold the kayak to prevent any movement during transport.
Step-by-Step Guide for Foam Block Method
By following these step-by-step instructions you can easily transport your kayak by using the Foam Block method:
Step 1: Placing Foam Blocks on the Roof of the Car
Firstly, place foam blocks on the roof of your car and make sure to position it in a way that allows for stability and support. The foam blocks need space and align with the roof rack.
It’s important to choose high-quality, durable foam blocks that can withstand the weight of your kayak. These blocks will act as a support between the kayak and the roof of your car to prevent any potential damage.
Before placing the foam blocks, make sure to clean the roof of your car to remove any dirt, debris, or residue. This will create a clean and secure surface for the foam blocks to adhere to.
Step 2: Loading the kayak on Car Roof Racks
Before loading the kayak on the car roof rack, it’s important to prepare it for transportation. To prepare it, make sure it’s clean. This will help prevent any scratches or damage to both your kayak and car during transit.
Then lift the kayak onto car roof racks and center and align it with the rack. To make the process easier call a friend or family member to assist you.
Step 3: Securing the Kayak
It is essential to secure it tightly after placing the kayak in the proper position on the roof, to ensure a safe journey.
Always use high-quality and durable straps or ropes which are specifically designed for securing kayaks. Avoid using bungee cords as they may not provide enough tension and could potentially come loose during transport.
Step-by-Step Guide for Kayak Trailer Method
By following these step-by-step instructions you can easily transport your kayak using the Kayak Trailer method:
Step 1: Attaching or Installation the Trailer Hitch to the Car
If you prefer to transport your kayak using a trailer, the first step is to attach the trailer hitch to your car’s receiver.
To begin, ensure that your car has a compatible receiver hitch installed. If not, you may need to purchase and install one before proceeding. Consult your car’s manual or a professional for guidance on selecting the appropriate hitch for your car.
Step 2: Loading the Kayak onto the Trailer
Before loading the kayak, make sure the trailer is parked on a level surface and securely stabilized. This will prevent any unnecessary movements or accidents as you load the kayak.
Ensure that your kayak is clean and free from any debris. This will prevent any scratching or damage during transportation. Also, remove any loose accessories or items attached to the kayak, such as paddles or fishing gear.
Then with the help of a friend or family member, carefully lift the kayak and place it onto the trailer. Make sure to position the kayak centrally on the trailer, aligning it with the trailer’s frame to distribute the weight evenly.
Step 3: Securing the Kayak onto the Trailer
Before placing the kayak on the trailer, secure it with the kayak straps or bungee cords and it is essential to secure it tightly to ensure a safe journey.
Common Mistakes to Avoid When Transporting a Kayak
By being aware of these mistakes, you can ensure the safe and secure transportation of your kayak.
- Insufficient or Improper Securing: One common mistake is not securing the kayak tightly enough. This can result in the kayak moving or shifting during transit, which can be dangerous for both your vehicle and other drivers on the road.
- Neglecting to Check the Straps: Another mistake is not checking the straps periodically during the journey. Strong winds or vibrations can cause the straps to loosen over time. It is important to pull over and inspect the straps regularly, ensuring they are still tight and secure. If needed, readjust and tighten them before continuing on your journey.
- Failure to Clear Obstructions: Before securing the kayak, make sure that there are no obstructions on the roof of your car that may interfere with the kayak’s placement or cause damage. Remove any roof racks, luggage, or other items that may hinder the kayak from sitting flat and secure on the roof.
By avoiding these mistakes, you can have peace of mind knowing that your kayak will arrive at its destination without any damage or accidents along the way.
